Sierra Greenhouse Insights
Greenhouse Seed Starting Guide: Get a Head Start on Your Growing Season
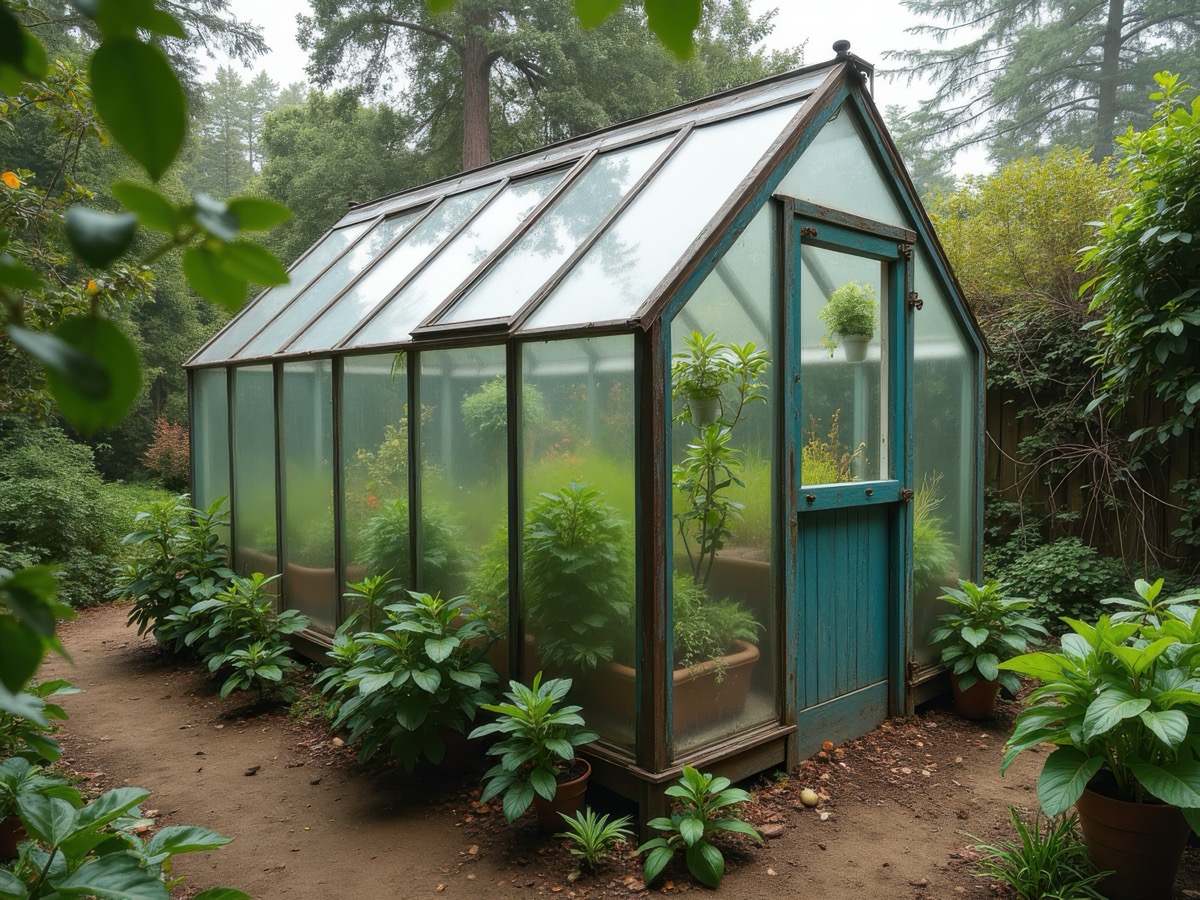
Starting seeds in your greenhouse gives you a significant advantage over outdoor gardening, allowing you to begin the growing season weeks or even months earlier. With controlled temperature, humidity, and protection from pests, your greenhouse creates the ideal environment for successful seed germination and healthy seedling development.
Why Start Seeds in Your Greenhouse?
Extended Growing Season
- Begin seed starting 6-8 weeks before the last frost date
- Transplant stronger, more established seedlings outdoors
- Achieve earlier harvests and longer productive seasons
Cost Savings
- Grow expensive varieties from seed at a fraction of the cost
- Produce dozens of plants for the price of a single nursery transplant
- Access rare and heirloom varieties not available as transplants
Better Plant Quality
- Control growing conditions from day one
- Reduce transplant shock with gradual hardening off
- Grow stronger root systems in optimal conditions
Essential Equipment for Seed Starting
Seed Starting Containers
- Seed trays with cells: Standard 72-cell trays for most vegetables
- Peat pots: Biodegradable options for large seeds
- Plug trays: Deep cells for crops with extensive root systems
- Seed starting flats: Shallow trays for broadcasting fine seeds
Heating and Temperature Control
- Heat mats: Maintain consistent soil temperature (70-80°F)
- Thermostats: Automatically control heating systems
- Min/max thermometers: Monitor temperature fluctuations
- Thermal mass: Water barrels to stabilize temperatures
Growing Medium
- Seed starting mix: Light, well-draining sterile medium
- Vermiculite: For covering fine seeds
- Perlite: Improves drainage and aeration
- Coconut coir: Sustainable alternative to peat moss
Lighting Systems
- LED grow lights: Energy-efficient full-spectrum lighting
- Fluorescent fixtures: Budget-friendly option for small operations
- Light timers: Ensure consistent photoperiods
- Reflectors: Maximize light distribution
Timing Your Seed Starting
Planning Your Schedule
Work backward from your transplant dates to determine when to start each crop:
Cool Season Crops (Start 8-10 weeks before last frost)
- Onions, leeks, shallots
- Cabbage, broccoli, cauliflower
- Lettuce, spinach, kale
- Peas (direct seed or transplant)
Warm Season Crops (Start 6-8 weeks before last frost)
- Tomatoes, peppers, eggplant
- Herbs (basil, oregano, thyme)
- Flowers (marigolds, zinnias, petunias)
Heat-Loving Crops (Start 4-6 weeks before last frost)
- Cucumbers, squash, melons
- Beans (bush varieties)
- Okra, corn (for transplants)
Creating a Seed Starting Calendar
- Determine your average last frost date
- Research days to maturity for each variety
- Calculate optimal transplant timing
- Work backward to determine seed starting dates
- Account for hardening off period (7-14 days)
Step-by-Step Seed Starting Process
1. Prepare Your Workspace
- Clean and disinfect all containers and tools
- Set up heating mats and temperature controls
- Arrange grow lights 2-4 inches above seed trays
- Prepare seed starting medium according to package directions
2. Sow Your Seeds
- Fill containers with moistened seed starting mix
- Create planting holes at appropriate depth (2-3 times seed diameter)
- Place seeds according to packet instructions
- Cover with vermiculite or seed starting mix
- Label each variety with name and date
3. Provide Optimal Germination Conditions
- Maintain soil temperature between 70-80°F
- Keep soil consistently moist but not waterlogged
- Provide darkness for most seeds until germination
- Use humidity domes to maintain moisture levels
4. Care for Emerging Seedlings
- Remove humidity domes once seedlings emerge
- Provide 12-16 hours of light daily
- Maintain air temperature 5-10°F cooler than soil temperature
- Begin light fertilization with diluted liquid fertilizer
5. Transplant and Grow On
- Transplant to larger containers when first true leaves appear
- Gradually reduce watering frequency to encourage root development
- Provide good air circulation to prevent disease
- Monitor for pests and diseases
Troubleshooting Common Problems
Poor Germination
Causes and Solutions:
- Old or poor-quality seeds → Use fresh, viable seeds
- Incorrect temperature → Use thermometers and heating mats
- Too wet or too dry conditions → Monitor soil moisture carefully
- Seeds planted too deep → Follow packet recommendations
Damping Off Disease
Prevention strategies:
- Use sterile seed starting medium
- Provide good air circulation
- Avoid overwatering
- Remove affected seedlings immediately
- Apply fungicide if necessary
Leggy Seedlings
Causes and solutions:
- Insufficient light → Increase light intensity or duration
- Too much heat → Reduce air temperature
- Overcrowding → Thin seedlings or transplant earlier
- Too much nitrogen → Reduce fertilizer application
Slow Growth
Common causes:
- Low temperatures → Increase heating
- Poor nutrition → Begin fertilization program
- Root bound conditions → Transplant to larger containers
- Insufficient light → Improve lighting setup
Advanced Techniques
Succession Planting
Stagger plantings every 2-3 weeks for continuous harvests:
- Start new seed trays while previous crops are growing
- Maintain steady supply of transplants
- Maximize greenhouse space utilization
Pre-Sprouting Seeds
For difficult-to-germinate varieties:
- Place seeds between damp paper towels
- Maintain warm temperatures (80-85°F)
- Check daily for root emergence
- Transplant sprouted seeds carefully
Microgreen Production
Quick turnaround crops for fresh greens:
- Dense seeding in shallow trays
- Harvest in 7-14 days
- No transplanting required
- High value crops for market sales
Hardening Off and Transplanting
Gradual Acclimatization Process
Begin 7-14 days before transplanting:
Days 1-3: Place seedlings outdoors in shade for 2-3 hours Days 4-6: Increase outdoor time to 4-6 hours, include some morning sun Days 7-10: Full sun exposure for increasing periods Days 11-14: Leave outdoors overnight if temperatures permit
Transplanting Best Practices
- Choose overcast days or transplant in evening
- Water seedlings thoroughly before transplanting
- Dig holes slightly larger than root ball
- Water immediately after transplanting
- Provide shade cloth for first few days if needed
Optimizing Your Greenhouse Environment
Temperature Management
- Use automatic vent openers for temperature control
- Install shade cloth for summer seed starting
- Consider thermal mass for temperature stability
- Monitor both air and soil temperatures
Humidity Control
- Maintain 50-70% relative humidity for optimal growth
- Use humidity trays or misting systems
- Ensure adequate ventilation to prevent disease
- Remove humidity domes gradually
Air Circulation
- Install circulation fans for gentle air movement
- Prevent stagnant air pockets
- Strengthen seedling stems through air movement
- Reduce disease pressure
Seasonal Considerations
Spring Seed Starting (February-April)
- Focus on cool-season crops first
- Gradually transition to warm-season varieties
- Monitor for late cold snaps
- Begin outdoor hardening as weather permits
Summer Seed Starting (May-July)
- Start fall and winter crops
- Provide extra shade and cooling
- Focus on heat-tolerant varieties
- Maintain consistent moisture levels
Fall Seed Starting (August-October)
- Prepare for winter growing
- Start cold-hardy varieties
- Reduce watering as growth slows
- Plan for shorter daylight hours
Winter Seed Starting (November-January)
- Limited to cold-hardy crops
- Supplemental heating may be required
- Consider grow lights for adequate illumination
- Focus on quick-maturing varieties
Maximizing Success
Record Keeping
Track your seed starting activities:
- Varieties and sources
- Planting and germination dates
- Success rates and problems
- Environmental conditions
- Harvest results
Seed Storage
Proper storage extends seed viability:
- Store in cool, dry conditions
- Use airtight containers with desiccants
- Label with variety and date
- Test germination rates annually
Continuous Learning
- Join local gardening groups
- Attend workshops and classes
- Experiment with new varieties
- Share experiences with other gardeners
Economic Benefits
Cost Analysis
Initial investment in seed starting equipment typically pays for itself within 1-2 seasons through:
- Reduced transplant purchases
- Access to premium varieties
- Extended growing seasons
- Potential income from excess plants
Value-Added Opportunities
- Sell excess seedlings at farmers markets
- Provide custom growing services
- Teach seed starting workshops
- Develop specialty crop niches
Starting seeds in your greenhouse transforms your growing operation from reactive to proactive, giving you complete control over your garden's success. With proper planning, equipment, and techniques, you'll enjoy healthier plants, earlier harvests, and the satisfaction of growing from seed to harvest in your own controlled environment.
Remember that seed starting is both an art and a science. Start small, learn from experience, and gradually expand your operation as you gain confidence and skill. Your greenhouse provides the perfect laboratory for perfecting these essential gardening skills.